
Uploading a file to the whiteboard
To upload a file to the interactive whiteboard, follow these steps:
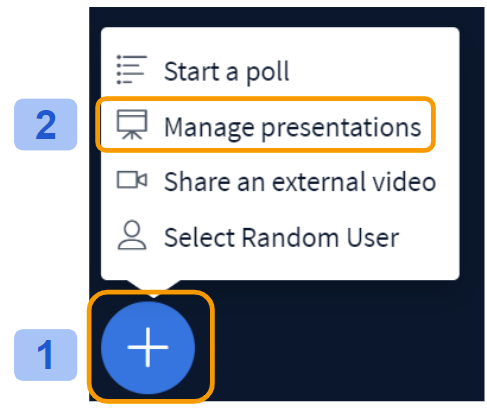
Select the Actions menu [1] in the lower left hand corner of the presentation window, then choose Manage presentations [2].
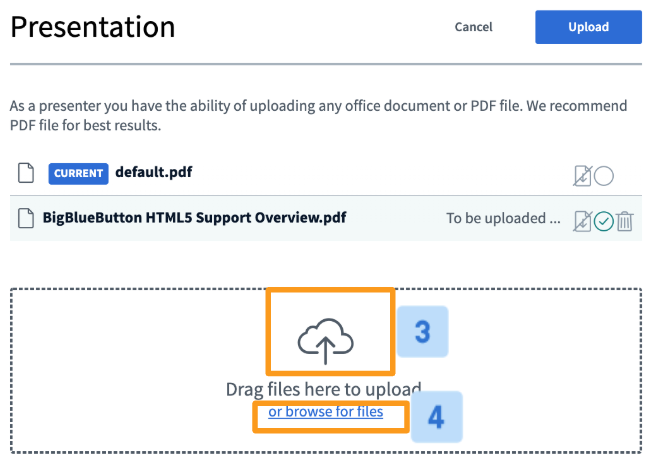
The presentation uploader will appear. The uploader allows you to drag and drop [3] files into the uploader or browse for files [4] on your OS.

When uploading multiple files at once, be sure to set the file you'd like to be displayed by default, then check the green circle to the right of the document.
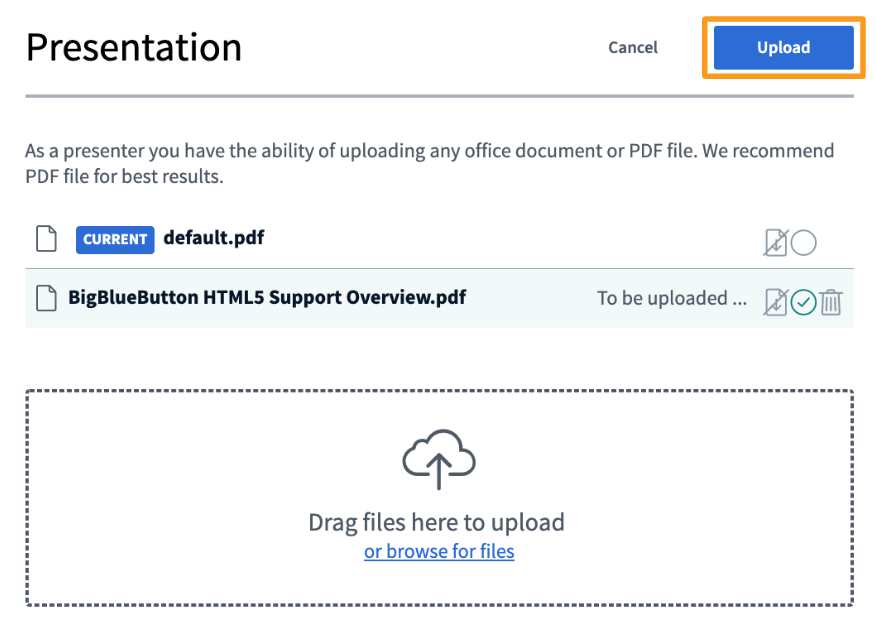
Once you have selected your chosen file(s) for upload, press start to convert and upload the files.
Depending on the size of your document it may take several moments for it to convert and finally upload to the meeting.
Enabling Download
Any presenter uploading a document can enable it for download by viewers of the live conference at any time.

To enable, select the enable download icon located to the right of the document.
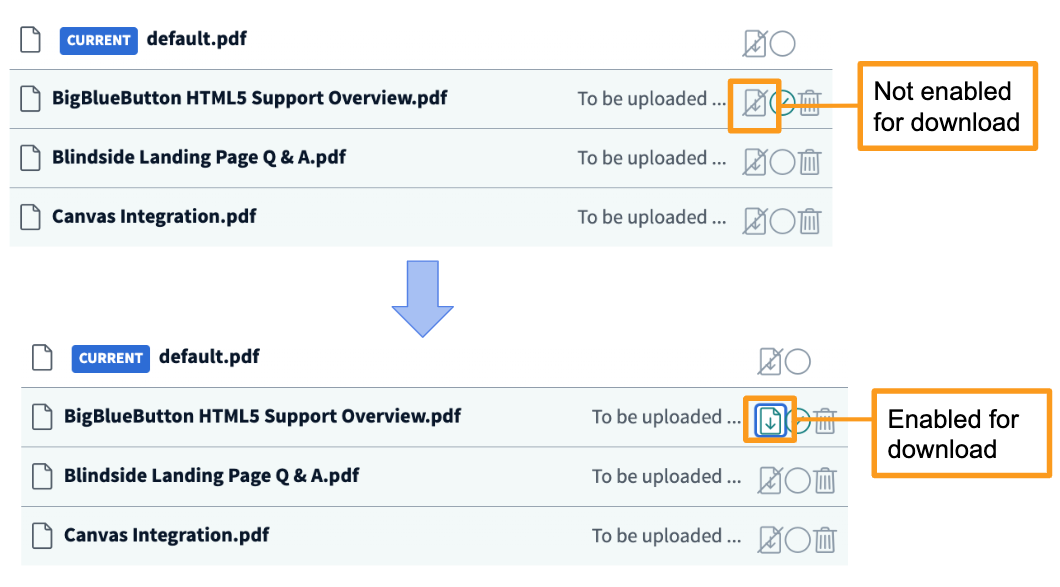
The icon will change to green to indicate the document selected can be downloaded by viewers.
What Viewers See

Viewers will be able to download the enabled documents via the file download icon in the bottom left of their screens.
Switching Between Presentations
Once you have uploaded all of your presentations, you can then switch between them on the fly.
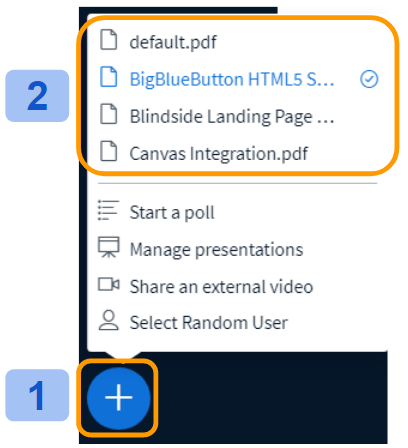
Select the Actions menu [1] in the lower left hand corner of the presentation window, then choose a presentation from one of the already uploaded options [2].
Please see the below guidance video for a demonstration.